So, for awhile now we’ve been wanting to re-do our chicken coop. It seems we come up with a new coop/pen idea every year that’s gonna magically take all the work out of farming. We messed up when when we built our last coop and had the main area facing South so when Spring time came around it would turn into a mud pit and never really grow back cause the sun never hit that area. We also had some minor condensation problems in the winter. The main reason for the new coop project was it was a pain to clean it out, which I’m sure is the problem for every chicken owner.
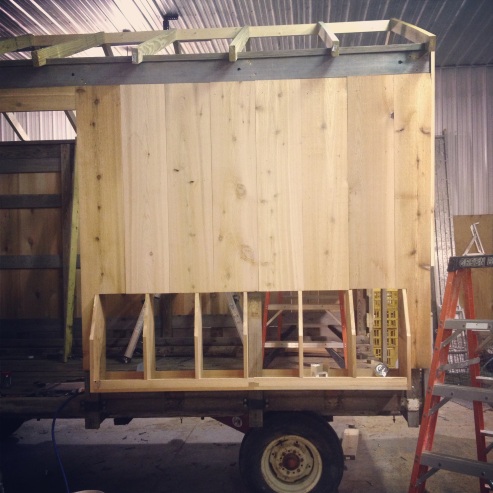
After a lot of research we decided to go the route of converting an old hay wagon into a large movable coop with our desired modifications. First thing was to acquire a hay wagon and if you’ve read any of our other blog posts…Craigslist is where we got it.
After the long journey Liz and her mom took to tow the trailer home from Northern Wisconsin we got to work! First problem was every bolt used to fasten the siding together on the hay wagon had the end of the bold and nut exposed so we wouldn’t be able to attach new siding flush. So…yes we took hundreds of bolts apart, basically disassembling the entire hay wagon and putting the frame back together. We also had to level out the top and adjust many things as we went along. This project took a couple months and was quite work intensive. People always ask how we find time to do this between working and having small children. Usually we work early in the morning before the kids wake up or at night when they go to bed. We also switch off a lot where one of us will hang out with the kids while the other works. For the larger scope parts we enlist the help of friends and family to either watch the kids or lend a hand.
We got a ridiculous deal on 6ft cedar boards from our local lumber yard that was trying to get rid of a bunch and it worked out perfect for us. The deal was only on 6 footers so we had to make them work. After siding everything we built the roof joists, which are just 2×4’s with a 1×4 running down the middle. We just looked at one of our barns and kinda of mimicked what was done. We purposely left some air gaps and spaces to hopefully eliminate heat and condensation build up.
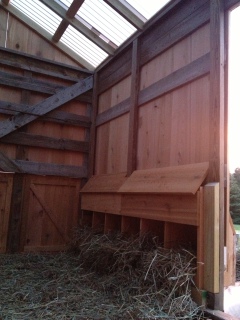
We then started on the nesting boxes and various doors, roosts and miscellaneous items. The nesting boxes are made out of the same cedar boards that we used for the siding. We get our eggs pretty often so we figured that 6 boxes would be enough for all our girls. We made them so we can easily access them from outside the coop by flipping down two larger doors. We also added on a large door in the back that can be open to just push all the straw out when it needs to be cleaned.
We then started working on the roosts and sliding barn door. Please see our sliding barn door post for how we accomplished that. We did two roosts that span the whole 14ft of the coop. We used two 14ft oak closet poles that are attached to industrial shelf hangers. We did them a bit higher up, about 3-4ft. We had them like this in our last coop and they seem to like that height a lot. We may add in some smaller, shorter ones on the end of the coop for smaller chickens and pullets to roost as well.
It was a bit tricky working on the roof, good thing we have a giant barn and a lot of ladders to help us through all our projects. We used “smoke” corrugated plastic roofing that allowed light through but still did a good job of protection. It was light weight and pretty easy to put up. A trick to cutting it that I discovered is to flip your circular saw blade around so it’s backwards and then it won’t tear your edge up. I’m sure you could also use a fine-tooth blade, jig-saw or possible even a box cutter or tin snips though.
The final thing built before the coop could go on its maiden voyage was the stairs. We cut some stringers and attached some simple steps that have been working out well so far. Hopefully they’ll hold up, but if they don’t we thought we could have our welder create some industrial stingers that would last a lifetime.
After the coop has been used for a couple weeks now, we still have a couple modifications to fix, but so far it seems to be working out quite well. We moved all the chickens in at night and they stopped laying for awhile cause of all the commotion of the new coop and learning about their new digs. This was a long, extensive project but I think once the chickens get used to it and we get everything on lock-down it will be well worth it.
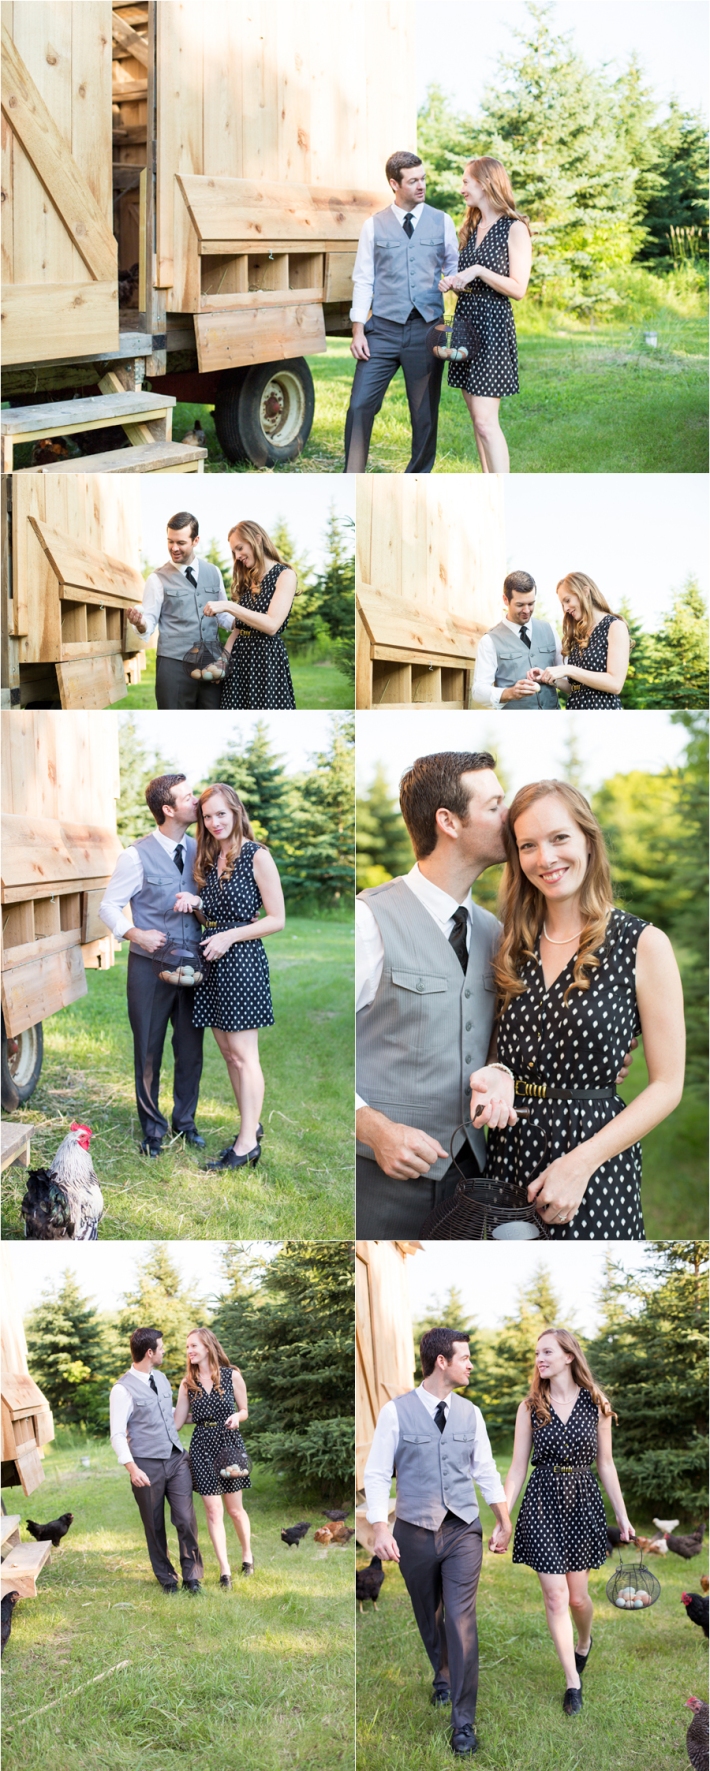
The final product has also already been used in a beautiful photo shoot by photographer Chrissy Rose


AWESOME! You made me laugh when I read this…” It seems we come up with a new coop/pen idea every year that’s gonna magically take all the work out of farming.” This is something I do DAILY. ha ha! Always looking for an easier way, but all that happens is the same work in a different way! Coop looks great! 🙂